Corner Trim For Shiplap Walls Wall Design Ideas

Best 25+ Shiplap boards ideas on Pinterest Plank walls, Planked walls
How to Trim Out Shiplap Trim is an excellent way to finish shiplap edges. It allows you to cover any gaps left behind by the installation and offers a polished look that's ideal for accent walls. You may apply caulk before applying trim, though it's not required. Quarter-round molding is one of the best materials to finish internal shiplap corners.

Pin by Tammy Jane on home ideas Shiplap living room, Shiplap room
108/2 = 54, 90-54 = 36. You'll need to miter both boards at 36 degrees. Not every corner may be 90 degrees so it's important to measure before you cut boards to ensure that boards will have a tight fit without any gaps. To smooth out seams, fill in with caulk at the edges, sand, and paint.
DIY Shiplap Walls The Cheap & Easy Way (2022)
Finishing the corners of a shiplap wall requires the use of something called a corner bead. A corner bead is a piece of trim made specifically for finishing where two walls meet. It's typically made of either vinyl or metal and it helps create crisp, clean lines on the corner of the wall while providing the strength needed to hold up against any bumps.

Pin on FRONT PORCH
May 8, 2017 - Explore Stephanie Wade's board "Ship lap corner trim" on Pinterest. See more ideas about ship lap walls, home, diy shiplap.
Corner Trim For Shiplap Walls Wall Design Ideas
Thanks for 300K subscribers! Let me know if you have any questions!BECOME A MEMBER OF FINISH CARPENTRY TV: https://www.youtube.com/channel/UCYU9ctqfZCDdagNPf.

FAQ on installing DIY shiplap walls. What wood or MDF to use for
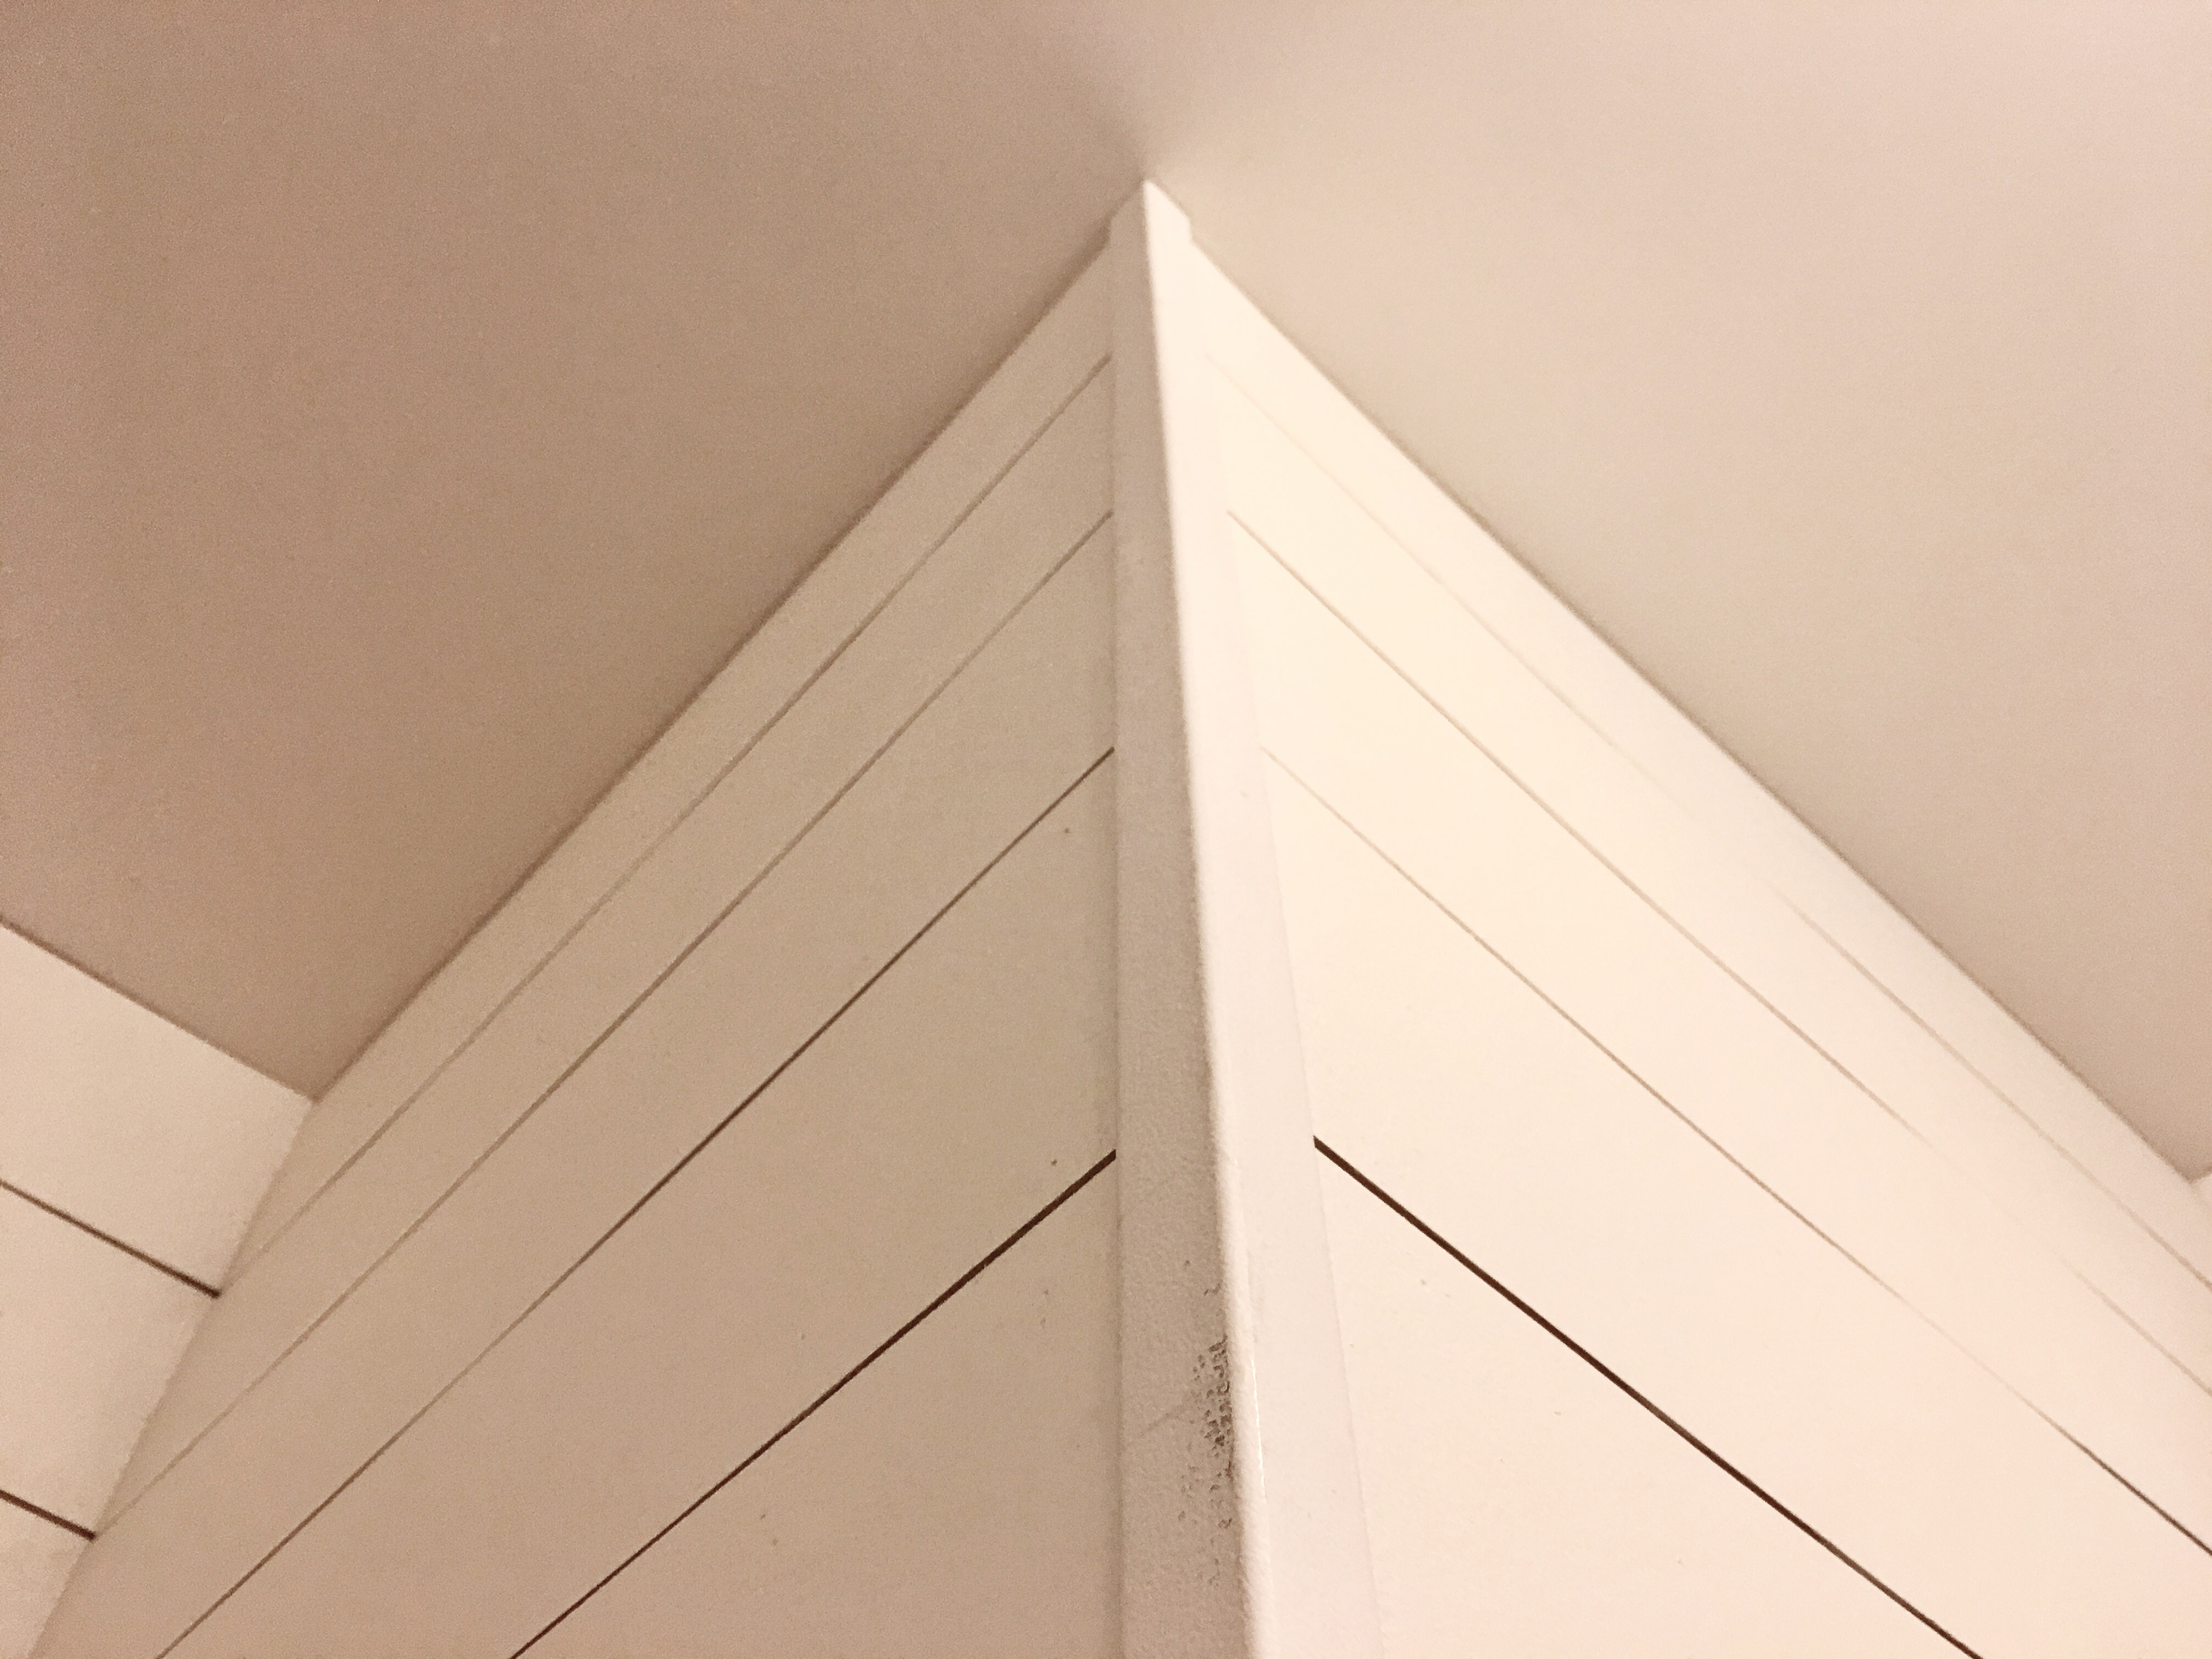
Setting the bevel of the saw to slightly more than 45 degrees (like 46 or 47 degrees) drives the outside of the miters together, resulting in tighter joints. This detail can also be used when wrapping the shiplap around a corner into another room.
How to Make DIY Shiplap Building Our Rez
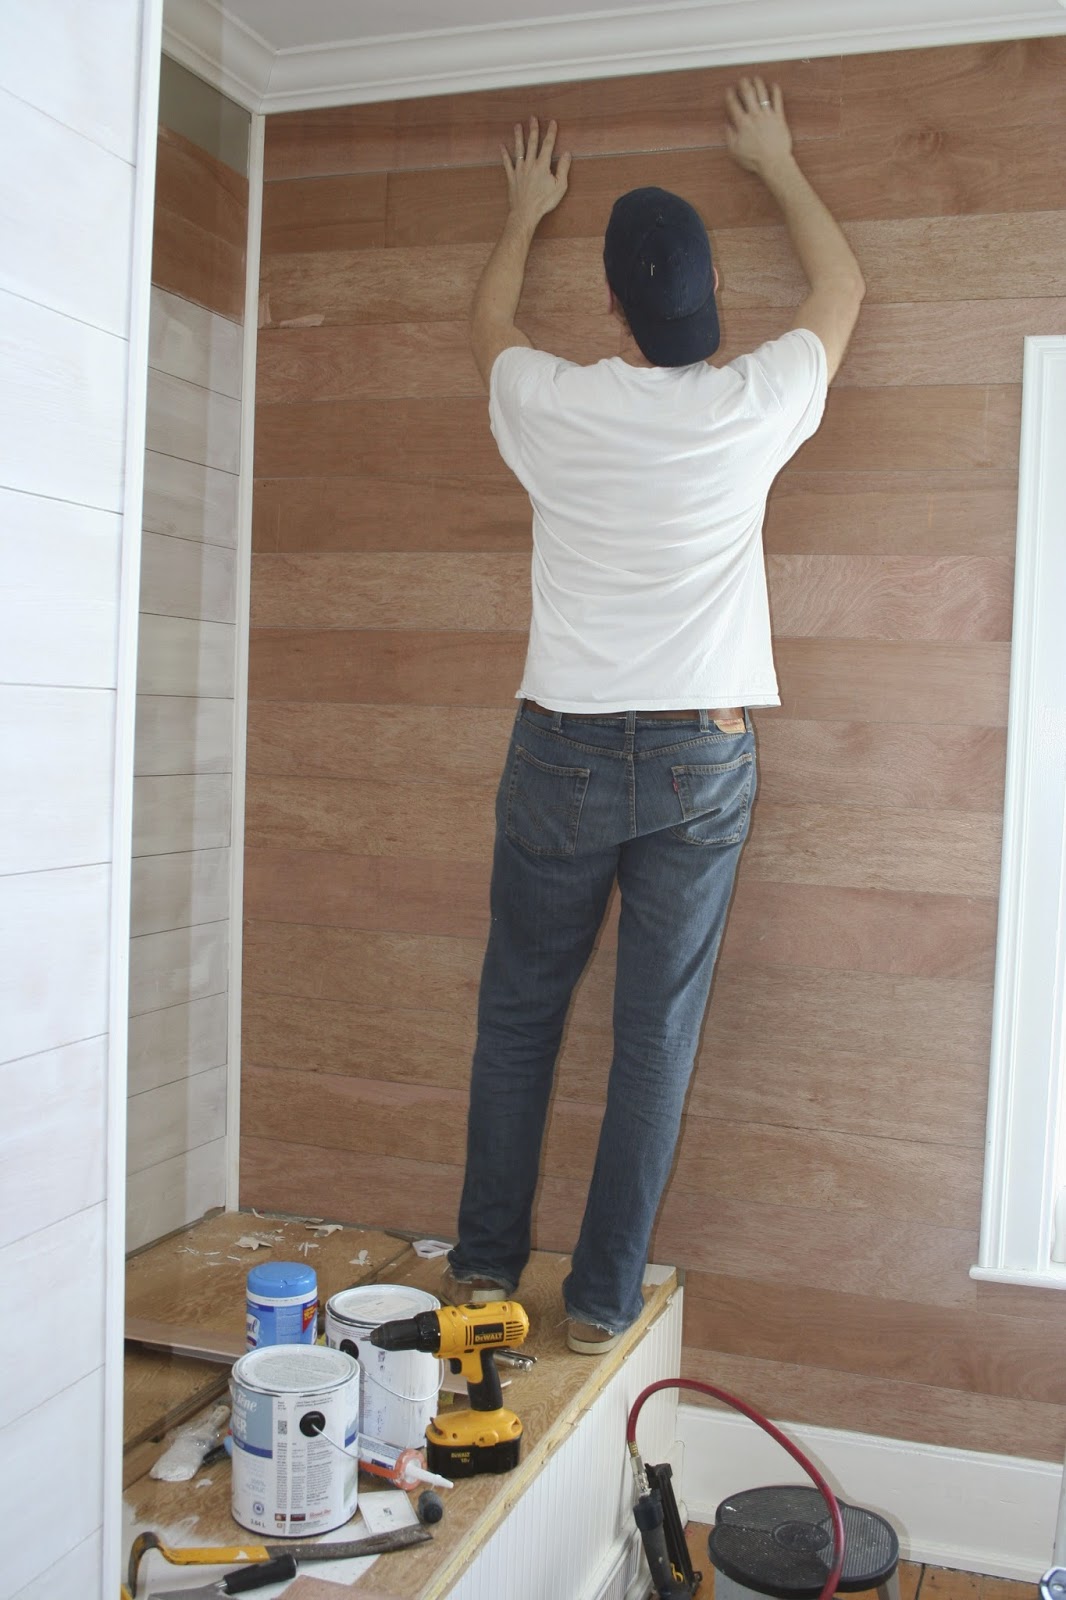
Step 1: Miter your Boards! To make your shiplap outlook more seamless and without any trim, you need to miter your shiplap boards to fit together snugly in every corner. Step 2: Divide and Cut If your corners are precisely 90 degrees, you need to divide by two and cut your shiplap board for the corner at a 45 degrees angle.

Wide Shiplap Home Renovation, Home Remodeling, Interior Trim, House
STEP 1: When you've finished installing the shiplap, run a bead of caulk along the seams where the shiplap meets up to a wall, inside corner, or molding. STEP 2: As soon as you have added the bead of the caulk, use your finger or a wet rag to smooth out the caulk while it is still wet.
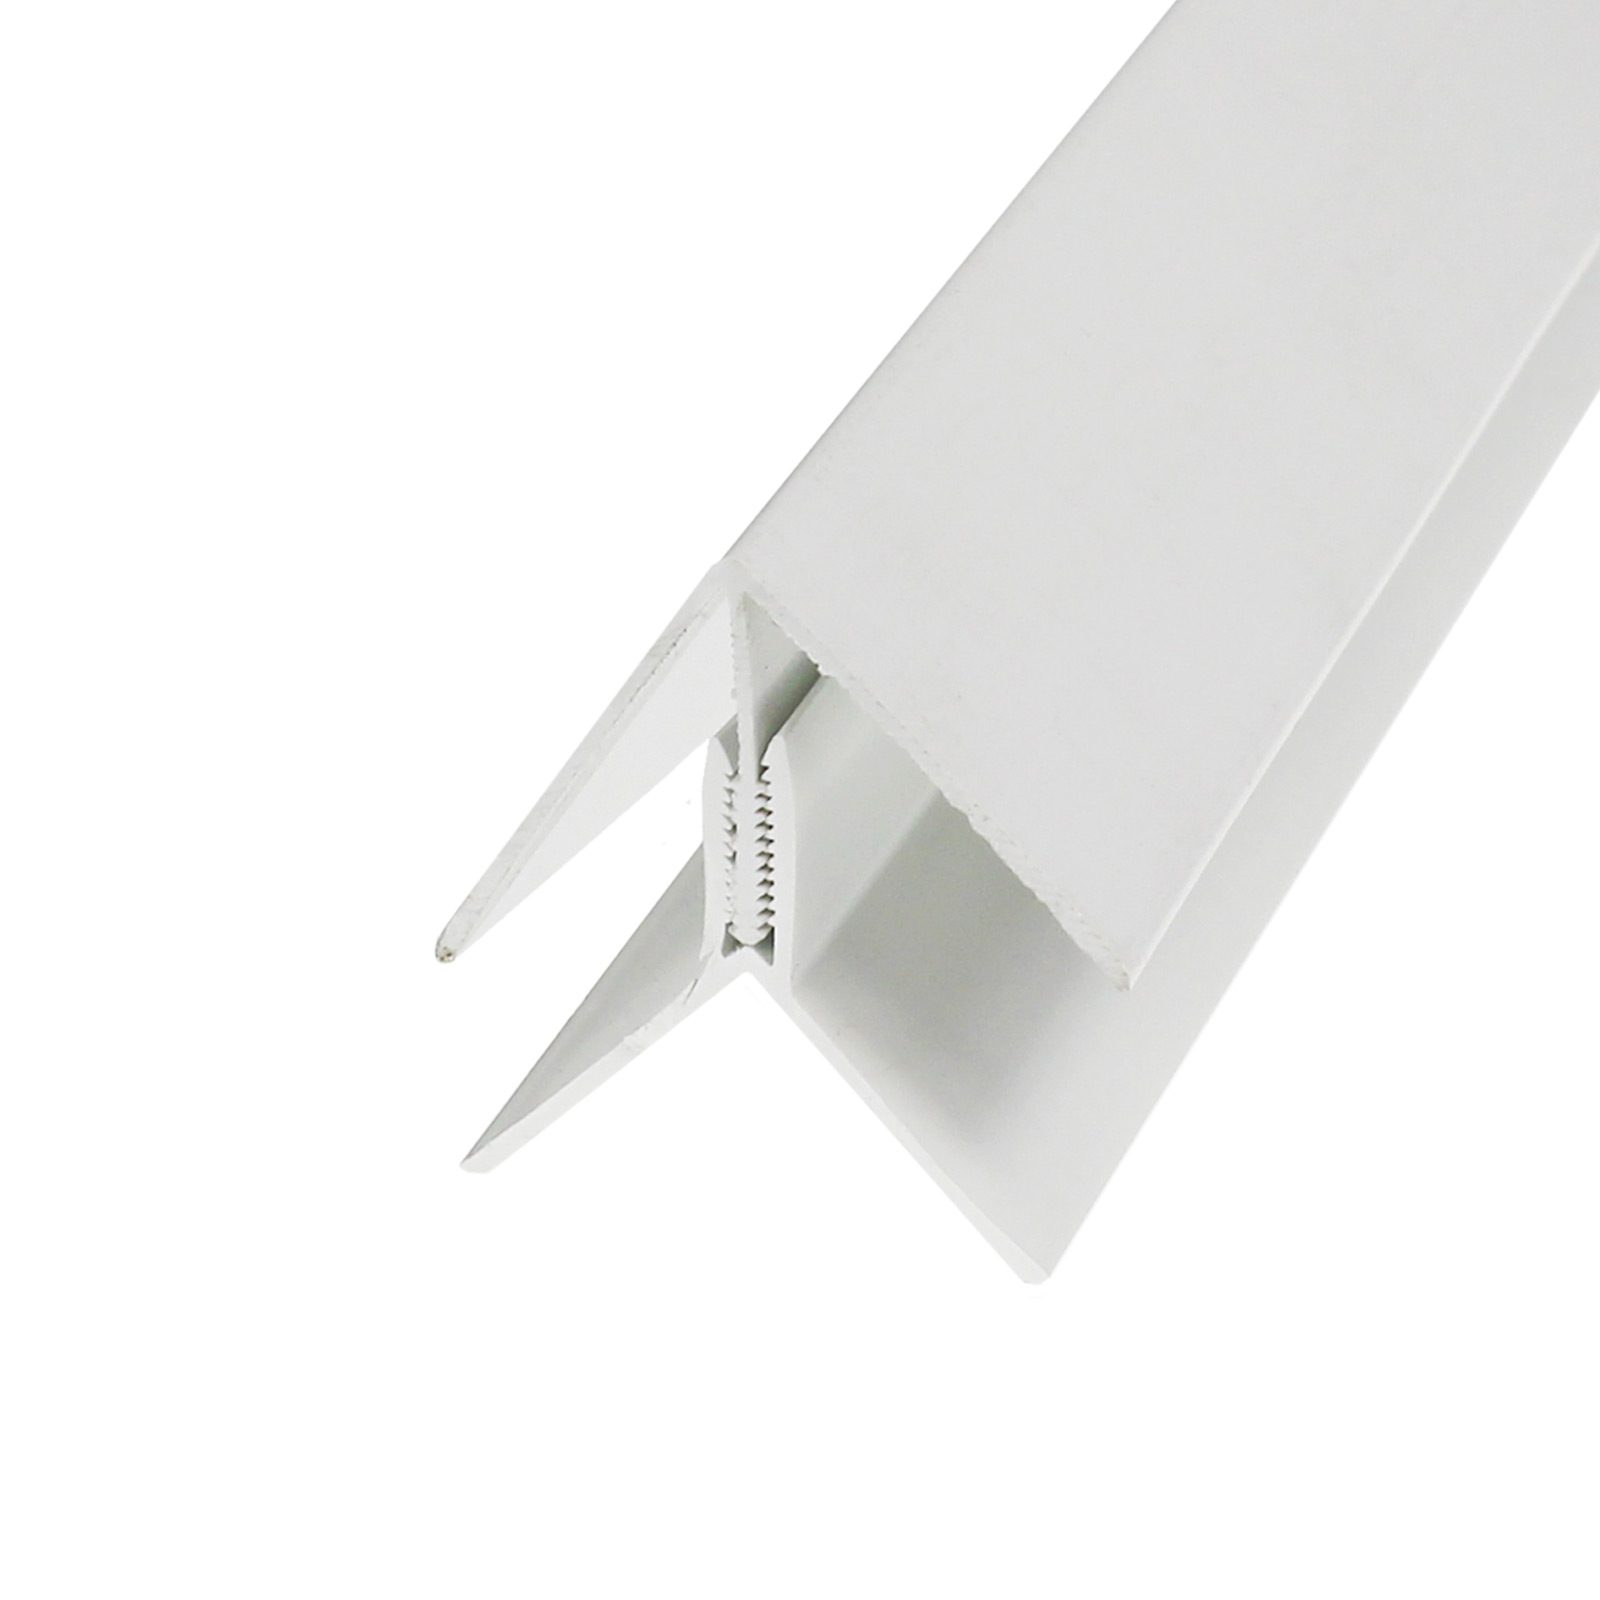
90° Internal/External Angle Corner Trim for uPVC Shiplap Cladding
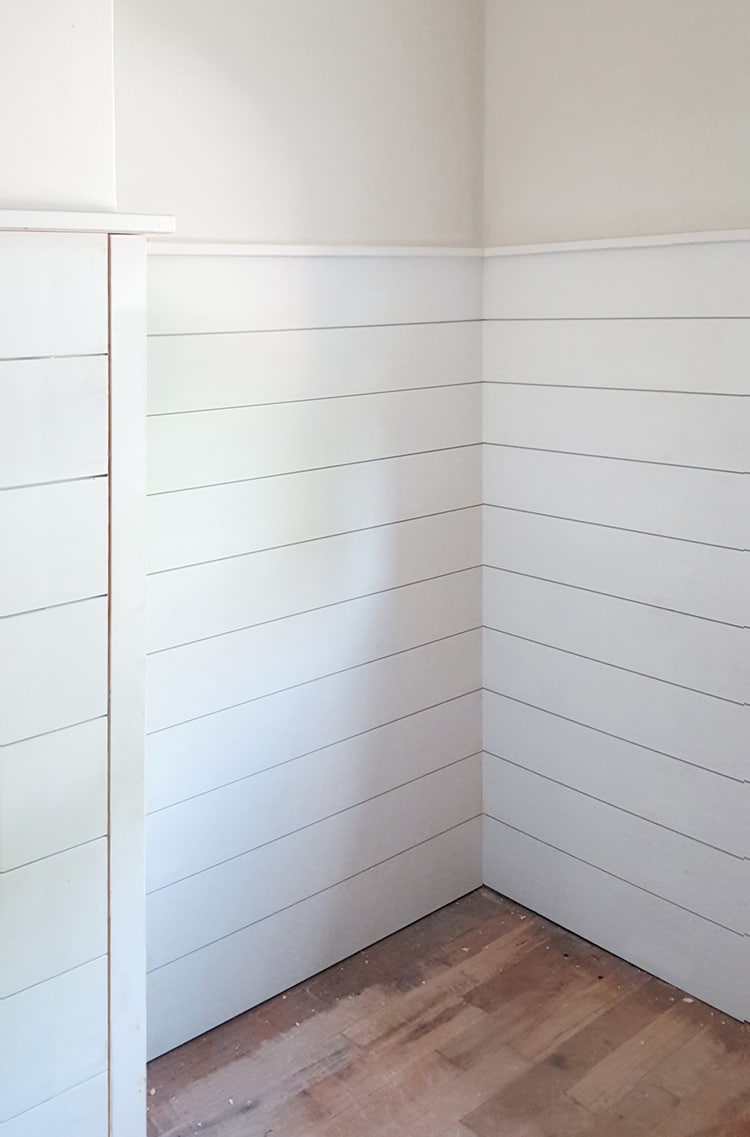
1. Install a Strip of Wood You can install a small strip of wood to make sure your shiplap corners don't stick out awkwardly by the ends of the walls. The strip of the wood needs to be square and should be thicker than the individual shiplap planks. PRO-TIP USE A THICKER STRIP OF WOOD TO AVOID MAKING DEFECTS PROMINENT 2.

Corner details on Shiplap Wainscoting corner details shiplap
Shiplap is a popular choice for people who want to give their walls a rustic, organic look. But what do you do when you reach the corners of your room? It might seem intimidating, but finishing shiplap corners isn't as difficult as it may seem. Just follow this step-by-step guide and you'll be able to pull off those sharp corner edges like.

Installing Shiplap, Shiplap Diy, Corner Moulding, Round Moulding, Red
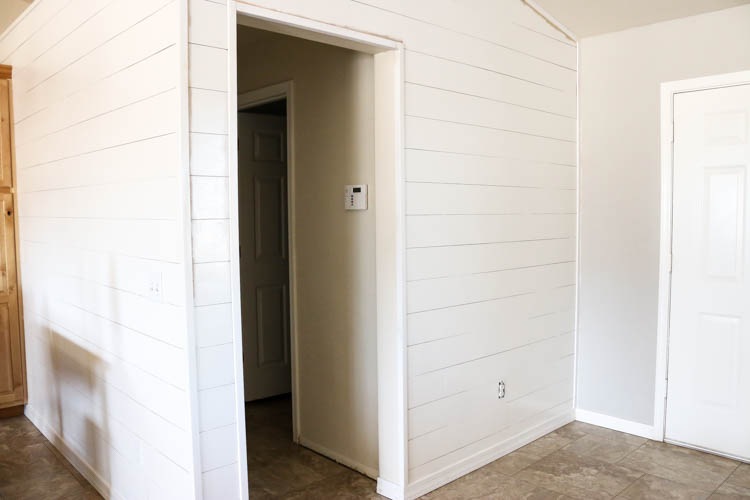
You should install corner trim if your Shiplap meets a corner that leads to another room. It's important for making a shiplap headboard.
All About Shiplap Trim Corners, Edges and Baseboards
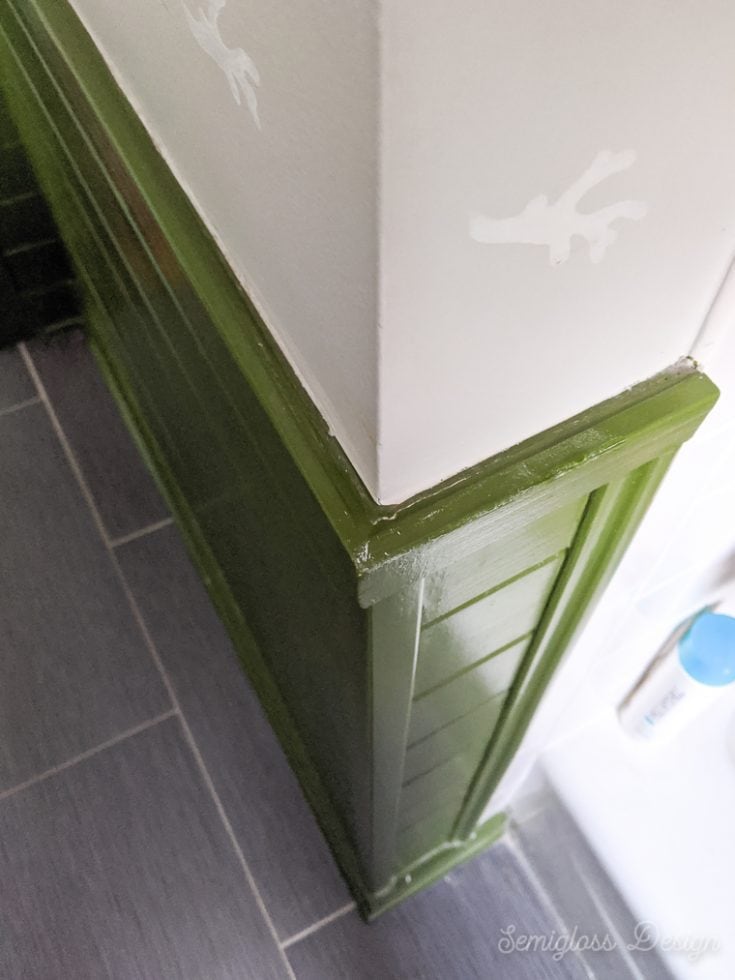
Corner trim prevents the edges from being too sharp if you scraped up against them. It also hides less than perfect cuts. It could do with a paint touch-up, but I'm considering repainting the whole room, so that will wait. The corner trim provides a nice, rounded corner. How to Cap Off Shiplap You have 2 options for the top of the shiplap.
Corner details on Shiplap Wainscoting WindsorONE
5. Fill the Corner with Joint Compound. Sometimes, all you need to create a smooth shiplap to drywall corner transition is a good old joint compound! If the corner you've currently built has some uneven gaps, you can fill it with joint compound. Wait for about a day so that the joint compound fully dries.

shiplapcorner Honeybear Lane
1. Use a Miter Saw If you have a miter saw, you can use it to cut your shiplap at an angle so that it fits perfectly on your outside corner. Then, measure the curves of your intersection, adjust your miter saw accordingly, and make your cuts. 2. Use a Circular Saw If you don't have a miter saw, you can use a circular saw to make the same cuts.

What To Know Before Making A Shiplap Wall in 2021 Shiplap wall diy
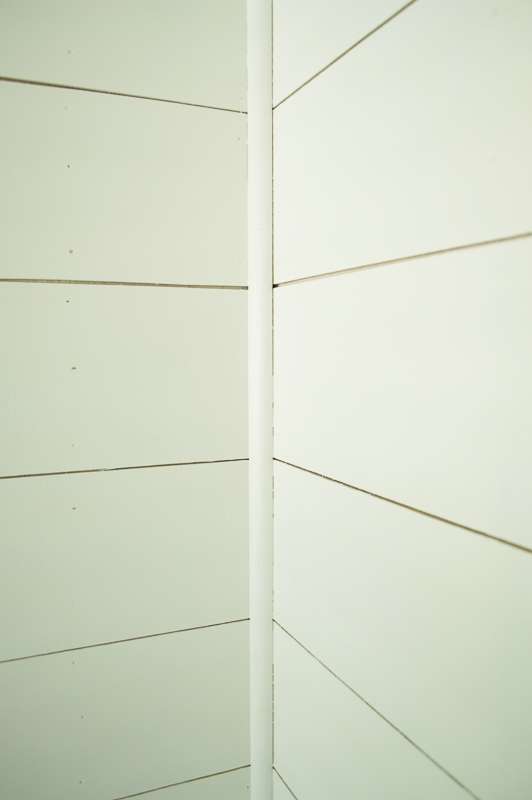
If you need to terminate your shiplap to an outside corner that you don't want to wrap the shiplap around (like a doorway or a drywall window return), I make my own trim by ripping a board that's slightly thicker than my shiplap (so if I'm using 1/2″ shiplap, I'll make my trim from a board that's 5/8″) down to about a 1/2.
SHIPLAP DIY It's a Fancy Schmancy Life
Yes. We are STILL working on the basement and the DIY shiplap walls. ( We started the basement project back in June .) This is real life DIY. And real life DIY comes with pregnancy and bed rest (me) and 5 broken ribs (Ryan). That means that finishing the basement has taken about 3 months longer than we anticipated.
